Configuring the Alarm Whitelist
You can configure the alarm whitelist to reduce false alarms. Events can be batch imported to and exported from the whitelist.
Whitelisted events will not trigger alarms.
On the Events page, you can add falsely reported alarms to the alarm whitelist. HSS will no longer generate alarms for it, and its statistics will not be displayed on the Dashboard page.
Adding Events to the Alarm Whitelist
Method | Description |
|---|---|
Add to alarm whitelist | Choose to add the alarm to the whitelist when handling it. For details, see Checking and Handling Intrusion Events. The following types of events can be added to the alarm whitelist:
|
Import the alarm whitelist | You can import whitelisted items on the Alarm Whitelist tab. |
Checking the Alarm Whitelist
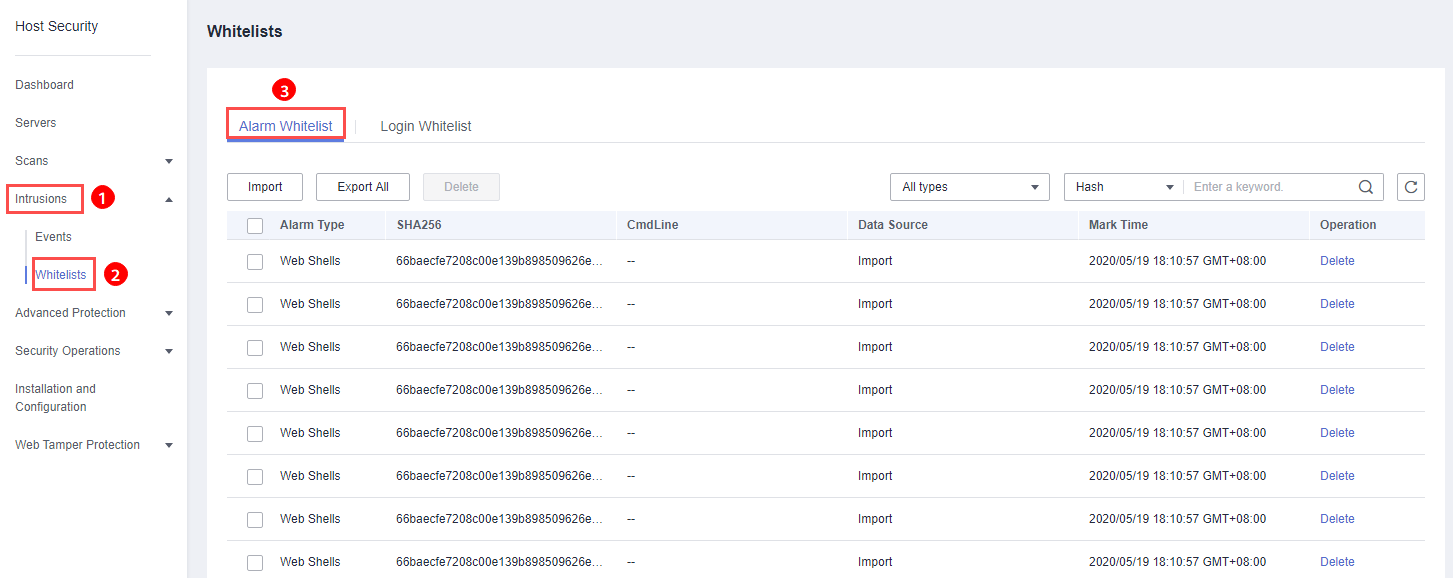
Perform the following steps to check the alarm whitelist:
- Log in to the management console.
- In the upper left corner of the page, select a region, click
 , and choose .
 - On the Whitelists page, click Alarm Whitelist.
Figure 1 Alarm whitelist
Importing and Exporting the Alarm Whitelist
You can import or export a whitelist for backup, restoration, or batch setting purposes.
- The exported alarm whitelist is in .csv format.
- The settings will fail to be imported if you opened the .csv file in Excel or changed the content format.
Format:
"Alarm_type","SHA256","Command_line","Data_source","Marking_time""webshell","66baecfe7208c00e139b898509626ee4d2ea81382ef15a4283b95d50f669b121","--","File imported","2020/02/28 07:32:44 GMT+08:00" - The alarm whitelist supports incremental import. If the same record is imported again, only one entry will be displayed for it.
- Log in to the management console.
- In the upper left corner of the page, select a region, click , and choose .
- On the Whitelists page, click the Alarm Whitelist tab, as shown in Figure 2.
Figure 2 Clicking the Alarm Whitelist tab
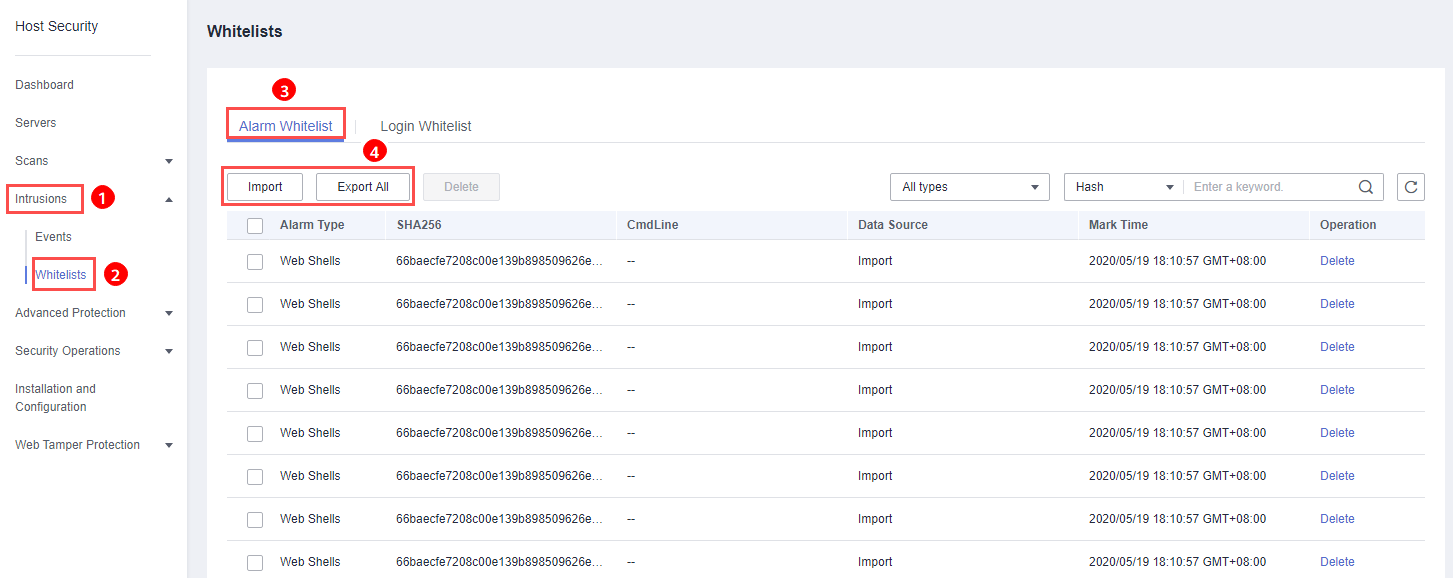
- Click Export All to export the current alarm whitelist as a .csv file.
- Click Import and select the exported Excel file to import the alarm whitelist.
In the displayed dialog box, click Upload and select a file. After the import is complete, you can check the imported alarms in the whitelist.
Note- Only the files in CSV, TXT, or UTF-8 format can be imported and exported.
- The file size cannot exceed 5 MB.
- The file name can contain 1 to 64 characters, including letters, digits, underscores (_), hyphens (-), and periods (.).
Follow-Up Procedure
Removing alarms from the whitelist
To remove an alarm from the whitelist, select it and click Delete.
Alarms removed from the whitelist will be triggered. Removals cannot be rolled back. Exercise caution when performing this operation.
- Adding Events to the Alarm Whitelist
- Checking the Alarm Whitelist
- Importing and Exporting the Alarm Whitelist
- Follow-Up Procedure