Role Management
Scenarios
You have logged in to a DDS instance.
Procedure
- On the top menu bar, choose Account Management > Role Management.
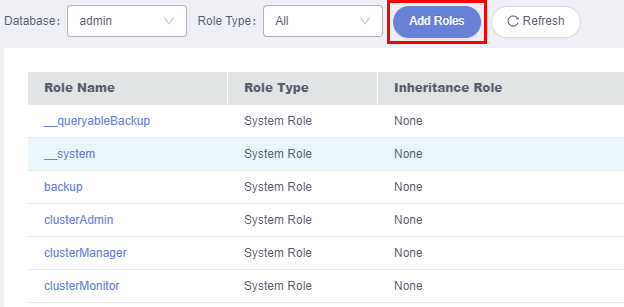
- In the upper left corner, select the database for which the roles are to be created from the Database drop-down list and click Add Roles.
Figure 1 Adding roles
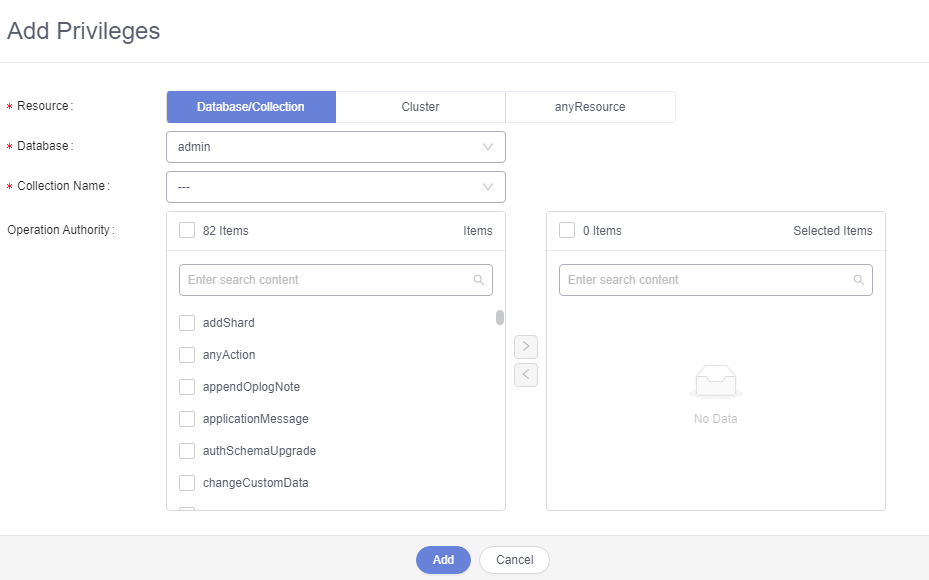
- On the displayed page, enter a role name. Then, click Add Privileges. In the displayed dialog box, specify required parameters and click Add.
Figure 2 Adding privileges
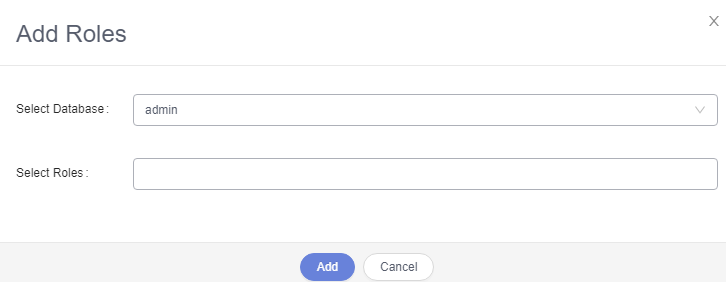
- On the Role tab page, click Add Roles. In the displayed dialog box, select the roles you want to add and click Add.
Figure 3 Viewing details
- After setting the roles, click Save.Note
- If a role is created for the admin database, you can select other databases when adding permissions or roles, to grant the permissions of other databases to this role. Users with this role have the permissions to operate the selected database.
Parent topic: Account Management
- Scenarios
- Procedure