Modifying a VPC
Scenarios
You can modify the following information about a VPC:
Modifying the Name and Description of a VPC
- Log in to the management console.
- Click
 in the upper left corner and choose Network > Virtual Private Cloud.
The Virtual Private Cloud page is displayed.
- Modify the name and description of a VPC using either of the following methods:
- Method 1:
- In the VPC list, click
 on the right of the VPC name.
 - Enter a VPC name and click OK.
- In the VPC list, click
- Method 2:
- In the VPC list, locate the target VPC and click its name.
The Summary page is displayed.
- Click
 on the right of the VPC name or description, enter the information, and click
  .
.
- In the VPC list, locate the target VPC and click its name.
- Method 1:
Modifying the CIDR Block of a VPC
- Log in to the management console.
- Click
 in the upper left corner and choose Network > Virtual Private Cloud.
The Virtual Private Cloud page is displayed.
- In the VPC list, locate target VPC and click Edit CIDR Block in the Operation column.
The Edit CIDR Block dialog box is displayed.
- Modify the VPC CIDR block as prompted.Notice
A VPC CIDR block must be from 10.0.0.0/8–24, 172.16.0.0/12–24, or 192.168.0.0/16–24.
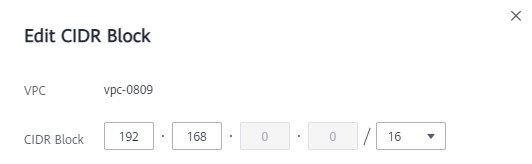
- If a VPC has no subnets, you can change both its network address and subnet mask.
Figure 1 Modifying network address and subnet mask
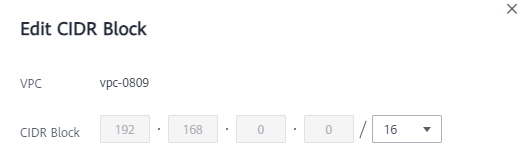
- If a VPC has subnets, you only can change its subnet mask.
Figure 2 Modifying subnet mask
- If a VPC has no subnets, you can change both its network address and subnet mask.
- Click OK.
Parent topic: VPC
- Scenarios
- Modifying the Name and Description of a VPC
- Modifying the CIDR Block of a VPC