Using a DIS Trigger
For details about the DIS event source, see Supported Event Sources.
Prerequisites
Before creating a DIS trigger, make sure you have prepared the following:
- You have created a function on FunctionGraph. For details, see Creating and Initializing a Function.
- You have created a DIS stream, for example, dis-function.
Setting an Agency
Before creating a DIS trigger, set an agency to delegate FunctionGraph to access DIS. For details on how to create an agency, see Creating an Agency.
Since you did not specify an agency while creating the HelloWorld function, specify one first.
- Log in to the FunctionGraph console, and choose Functions > Function List in the navigation pane.
- Click the HelloWorld function.
- Choose Configuration > Permissions, and change the agency to serverless-trust created in Creating an Agency.
- Click Save.
Creating a DIS Trigger
- Log in to the FunctionGraph console, and choose Functions > Function List in the navigation pane.
- Click the HelloWorld function.
- Choose Configuration > Triggers and click Create Trigger.
- Set the following parameters:
- Trigger Type: Select Data Ingestion Service (DIS).
- Stream Name: Select a DIS stream, for example, dis-function.
- Max. Fetch Bytes: Maximum volume of data that can be fetched in each request. Only the records smaller than this value will be fetched. The value ranges from 1 KB to 4 MB.
- Starting Position: Specify a position in the specified stream from which to start reading data.
- TRIM_HORIZON: Data is read from the earliest valid records that are stored in the partition.
- latest: Data is read just after the most recent record in the partition. This setting ensures that you always read the latest data.
- Pull Period: Set a period for pulling data from the stream.
- Serial Data Processing: If this option is selected, FunctionGraph pulls data from the stream only after previous data is processed. If this option is not selected, FunctionGraph pulls data from the stream as long as the pull period ends.
- Click OK.
Configuring a DIS Event to Trigger the Function
- Log in to the FunctionGraph console, and choose Functions > Function List in the navigation pane.
- Click the HelloWorld function.
- On the function details page, click the Code tab and select Configure Test Event.
- Set the parameters described in Table 1 and click Save.
Table 1 Test event information Parameter
Description
Configure Test Event
You can choose to create a test event or edit an existing one.
Use the default option Create new test event.
Event Template
Select Data Ingestion Service (DIS) to use the built-in DIS event template.
Event Name
The event name can contain 1 to 25 characters and must start with a letter and end with a letter or digit. Only letters, digits, underscores (_), and hyphens (-) are allowed. For example, dis-123test.
Event data
The system automatically loads the built-in DIS event template, which is used in this example without modifications. The code in this template is as follows:
NoteThe event template is as follows:
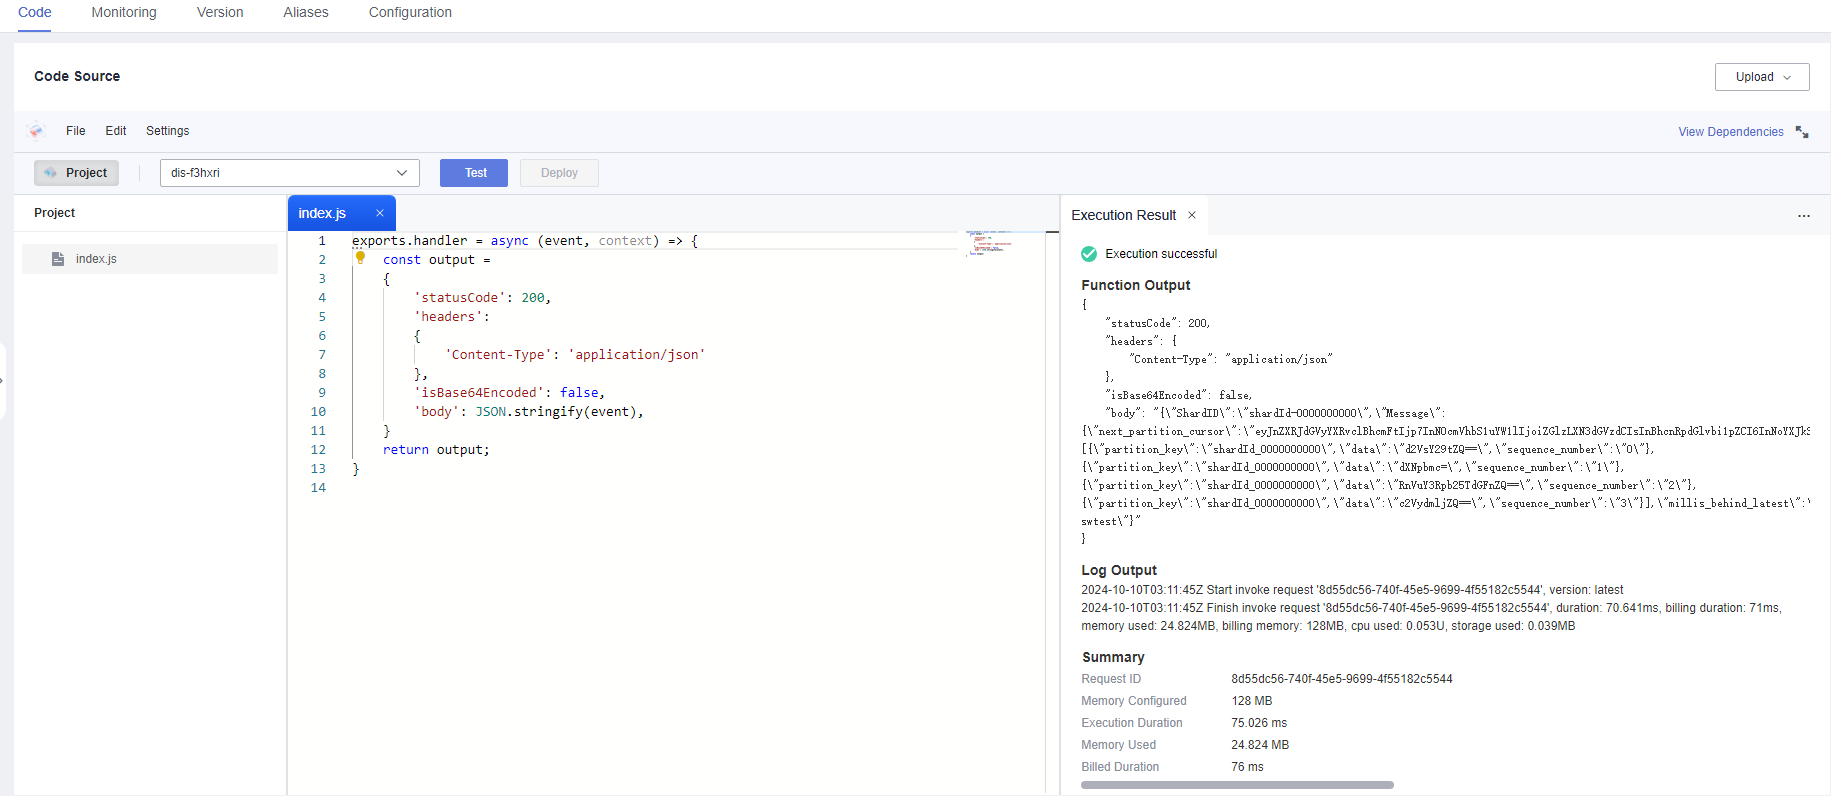
{"ShardID": "shardId-0000000000","Message": {"next_partition_cursor": "eyJnZXRJdGVyYXRvclBhcmFtIjp7InN0cmVhbS1uYW1lIjoiZGlzLXN3dGVzdCIsInBhcnRpdGlvbi1pZCI6InNoYXJkSWQtMDAwMDAwMDAwMCIsImN1cnNvci10eXBlIjoiVFJJTV9IT1JJWk9OIiwic3RhcnRpbmctc2VxdWVuY2UtbnVtYmVyIjoiNCJ9LCJnZW5lcmF0ZVRpbWVzdGFtcCI6MTUwOTYwNjM5MjE5MX0","records": [{"partition_key": "shardId_0000000000","data": "d2VsY29tZQ==","sequence_number": "0"},{"partition_key": "shardId_0000000000","data": "dXNpbmc=","sequence_number": "1"},{"partition_key": "shardId_0000000000","data": "RnVuY3Rpb25TdGFnZQ==","sequence_number": "2"},{"partition_key": "shardId_0000000000","data": "c2VydmljZQ==","sequence_number": "3"}],"millis_behind_latest": ""},"Tag": "latest","StreamName": "dis-swtest"} - Click Test. The function test result is displayed, as shown in Figure 1.
Figure 1 Test result
- Prerequisites
- Setting an Agency
- Creating a DIS Trigger
- Configuring a DIS Event to Trigger the Function