Using Custom Agent Images
If you use a self-made agent image during migration, you need to create a private image using the agent image and modify the configuration file. For details, see Creating a Linux Agent Image.
Precautions
SMS only provides standard, security-hardened agent images for testing use. You need to use your custom agent images for migration.
- You are advised to use your custom agent images for migration of sensitive data. Before the migration, you need to scan and evaluate security risks in your agent images. SMS technical support can provide help for you. You are responsible for possible migration failures and data losses caused by the security risks identified in your agent images.
- The agent images provided by SMS are only for migration testing. You are not advised to use them for other purposes.
- In your custom agent images created using SMS agent images, do not change the IP address 169.254.XX.XX contained in the scripts. The IP address is used by ECS to access the metadata service.
Using a Linux Agent Image
- Log in to the SMS console. In the navigation pane on the left, choose Agents.
- Download the Linux Agent installation package to the source server to be migrated.
- On the source server, decompress the installation package.
tar -zxvf SMS-Agent.tar.gz
- Start the Agent.
./startup.sh
- Enter the AK/SK pair and SMS domain name to start the SMS-Agent.
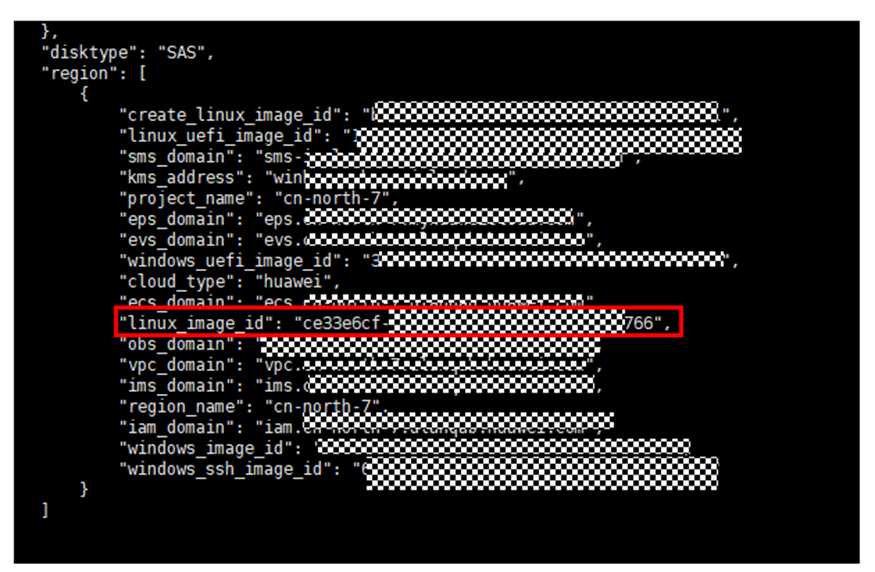
- Go to the directory where the SMS-Agent was installed (typically ~\SMS-Agent\agent\config\cloud-region.json).
- In the cloud-region.json file, search for "linux_image_id" and replace the content as indicated by the arrow in the picture below with the ID of your custom image.
Parent topic: Creating Custom Agent Images
- Precautions
- Using a Linux Agent Image