Adding, Modifying, or Deleting a Topic Tag
Scenarios
Tags consist of keys and values. They identify cloud resources so that you can easily categorize and search for your resources.
- A tag key can have multiple values.
- Tag keys for the same resource must be unique.
Adding Tags to a Topic
- Log in to the management console.
- In the upper left corner of the page, click
 and select the desired region and project.
 - Select Simple Message Notification under Application.
The SMN console is displayed.
- In the navigation pane on the left, choose Topic Management > Topics.
The Topics page is displayed.
- Click the topic name.
The Topic Details page is displayed.
- Click the Tags tab.
- Click Add Tag and specify tag keys and values.
Figure 1 Add Tag
 Note
Note- A key can contain up to 128 characters, and a value can contain up to 255 characters.
- You can add up to 10 tags for each topic.
- Click OK.
The tags you added are displayed in the list.
Modifying a Topic Tag
- Log in to the management console.
- In the upper left corner of the page, click and select the desired region and project.
- Select Simple Message Notification under Application.
The SMN console is displayed.
- In the navigation pane on the left, choose Topic Management > Topics.
The Topics page is displayed.
- Click the topic name.
The Topic Details page is displayed.
- Click the Tags tab.
- Click Edit under Operation to modify the tag value.
Figure 2 Edit Tag
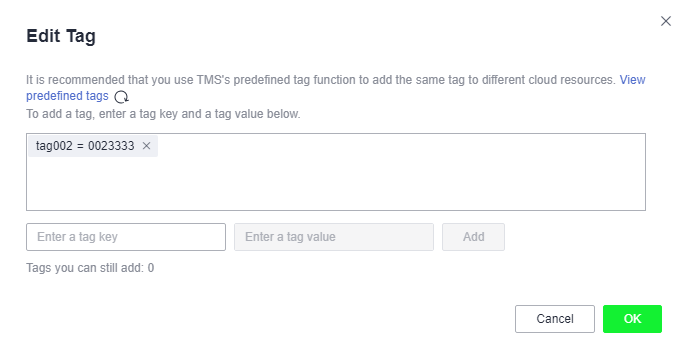
- Click OK.
Deleting a Topic Tag
- Log in to the management console.
- In the upper left corner of the page, click and select the desired region and project.
- Select Simple Message Notification under Application.
The SMN console is displayed.
- In the navigation pane on the left, choose Topic Management > Topics.
The Topics page is displayed.
- Click the topic name.
The Topic Details page is displayed.
- Click the Tags tab.
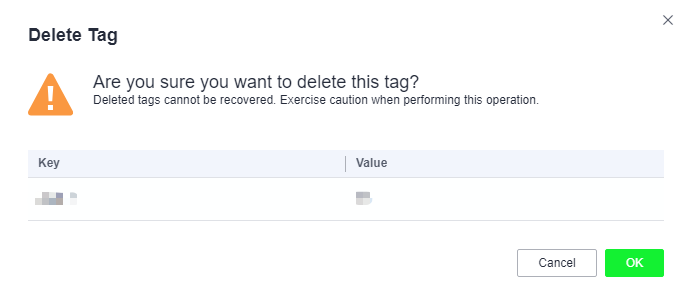
- Click Delete in the Operation column and click in the confirmation dialog box.
Figure 3 Delete Tag
Parent topic: Topic Management
- Scenarios
- Adding Tags to a Topic
- Modifying a Topic Tag
- Deleting a Topic Tag