Connecting to an RDS for MySQL Instance Through the GUI
In Windows, you can use any common database client to connect to the target DB instance in a similar way.
This section uses MySQL-Front as an example to describe how to connect to an RDS for MySQL instance through the GUI.
Using MySQL-Front to Connect to a DB Instance
- Log in to the management console.
- Click
 in the upper left corner and select a region and a project.
 - Click Service List. Under Database, click Relational Database Service.
- Start MySQL-Front.
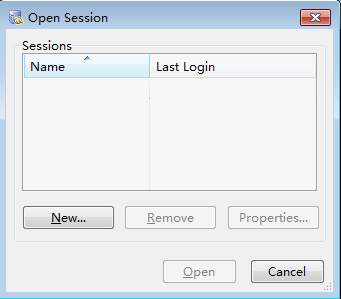
- In the displayed dialog box, click New.
Figure 1 Connection management
- Enter the information of the DB instance to be connected and click Ok, as shown in Figure 2.
Figure 2 Adding an account
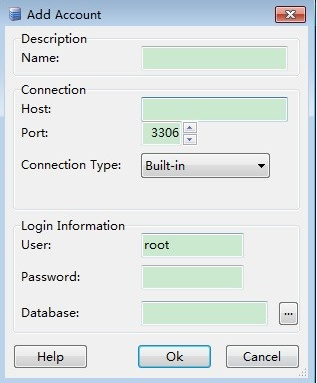
Table 1 Parameter description Parameter
Description
Name
Specify a name for the database connection task. If you do not set this parameter, it will be the same as the Host value by default.
Host
Enter the floating IP address of the DB instance to be connected. To view the floating IP address and port of the DB instance:
- Log in to the RDS console.
- Select the region in which the DB instance is located.
- Click the target DB instance to enter the Basic Information page.
- In the Connection Information area, view the floating IP address.
If you want to connect to the instance through a public network, enter the instance EIP for this parameter.
Port
Enter the private network port of the DB instance.
User
Enter the username to be used for accessing the DB instance. The default user is root.
Password
Enter the password of the username you specified.
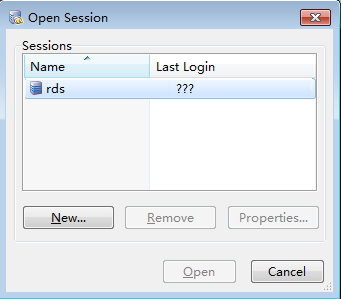
- In the displayed window, select the connection that you have created in 6 and click Open. If the connection information is correct, the DB instance will be connected.
Figure 3 Opening a session
 Note
NoteIf the connection fails, see What Should I Do If an ECS Cannot Connect to an RDS DB Instance Through a Private Network?
- Using MySQL-Front to Connect to a DB Instance