Creating a User and Granting DNS Permissions
To implement fine-grained permissions control over your DNS resources, IAM is a good choice. With IAM, you can:
- Create IAM users for employees based on your enterprise's organizational structure. Each IAM user will have their own security credentials for accessing DNS resources.
- Grant users only the permissions required to perform a given task based on their job responsibilities.
- Entrust another account or cloud service to perform efficient O&M on your DNS resources.
Skip this part if your account does not need individual IAM users.
Figure 1 shows the process of granting permissions.
Prerequisites
Learn about the permissions (Permissions) supported by DNS and choose policies or roles based on your requirements. For the permissions of other services, see Permission Description.
Process Flow
Figure 1 Process for granting permissions
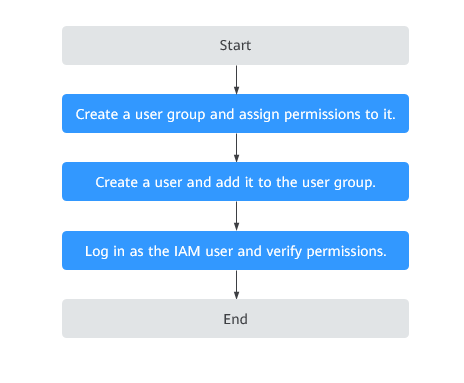
- Create a user group and assign permissions.
After creating a user group on the IAM console, attach the DNS ReadOnlyAccessDNS Viewer policy to the group, which grants users read-only permissions to DNS resources.
- Create a user and add the user to the user group
The user group is the one you have created in step 1.
- Log in to the management console as the created user.
Verify that the user only has read permissions for DNS.
- Choose Service List > Domain Name Service. On the DNS console, choose Overview > Private Zones. On the displayed page, click Create Private Zone. If the private zone cannot be created, the DNS ReadOnlyAccessDNS Viewer policy has already taken effect.
- Choose any other service from Service List. If a message appears indicating that you have insufficient permissions to access the service, the DNS ReadOnlyAccessDNS Viewer policy has already taken effect.
Parent topic: Permissions Management
- Prerequisites
- Process Flow