Manually Switching the Primary and Secondary Nodes of a Replica Set
A replica set consists of the primary node, secondary node, and hidden node. Primary and secondary nodes allow access from external services by providing IP addresses. Hidden nodes are only used for backing up data. When a primary node becomes faulty, the system automatically selects a new primary node to ensure high availability. DDS supports primary/secondary switchovers for scenarios such as disaster recovery.
Precautions
- To perform a switchover, the instance status needs to be Available, Abnormal, Changing a security group, or Heavy load.
- The database connection may be interrupted during the switchover. Ensure that your client supports reconnection.
- If there are any newly added secondary nodes, they will be unable to participate in this switchover. When you add a new secondary node, the HA connection address needs to be reconfigured, and the new node is frozen for 12 hours.
- The longer the delay for primary/secondary synchronization, the more time is needed for a primary/secondary switchover. If the primary to secondary synchronization delay exceeds 300s, primary/secondary switchover is not supported. For details about the synchronization delay, see What Is the Time Delay for Primary/Secondary Synchronization in a Replica Set?
Performing a Primary/Secondary Switchover
- Log in to the management console.
- Click
 in the upper left corner and select a region and a project.
 - Click Service List. Under Database, click Document Database Service to go to the DDS console.
- On the Instances page, click the replica set instance.
- In the Node Information area on the Basic Information page, click Switch.
- In the displayed dialog box, click Yes.
- Check the result.
- During the switchover process, the DB instance status changes to Switchover in progress. After the switchover is complete, the status is restored to Available.
- In the Node Information area, you can view the switchover result.
- After the switchover, the previous primary node becomes the secondary node. You need to reconnect to the primary node. For details, see Connecting to a Replica Set Instance Using Mongo Shell (Private Network).
Forcibly Promoting a Secondary Node to the Primary
- Log in to the management console.
- Click in the upper left corner and select a region and a project.
- Click Service List. Under Database, click Document Database Service to go to the DDS console.
- On the Instances page, click the replica set instance name.
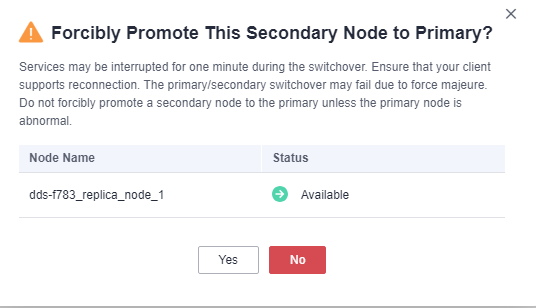
- In the Node Information area on the Basic Information page, locate a target node whose role is Secondary and click Promote to Primary in the Operation column.
- In the displayed dialog box, click Yes.
Figure 1 Forcibly promoting a secondary node to the primary
- Check the result.
- In the Node Information area on the Basic Information page, you can view the result.
Parent topic: Changing Replica Set Instance Nodes
- Precautions
- Performing a Primary/Secondary Switchover
- Forcibly Promoting a Secondary Node to the Primary