Step 1: Select a Project
You can use either of the following ways to create a large screen:
- Method 1: Creating a Large Screen on the Console
- Click
 in the upper left corner to select a region.
 - In the lower left corner of the navigation pane, select an enterprise project from Enterprise Project.
- On DataArts Insight's Workspace page, click Create and select Create Screen.
- In the displayed dialog box, select a project and click OK.
Figure 1 Select My Project dialog box

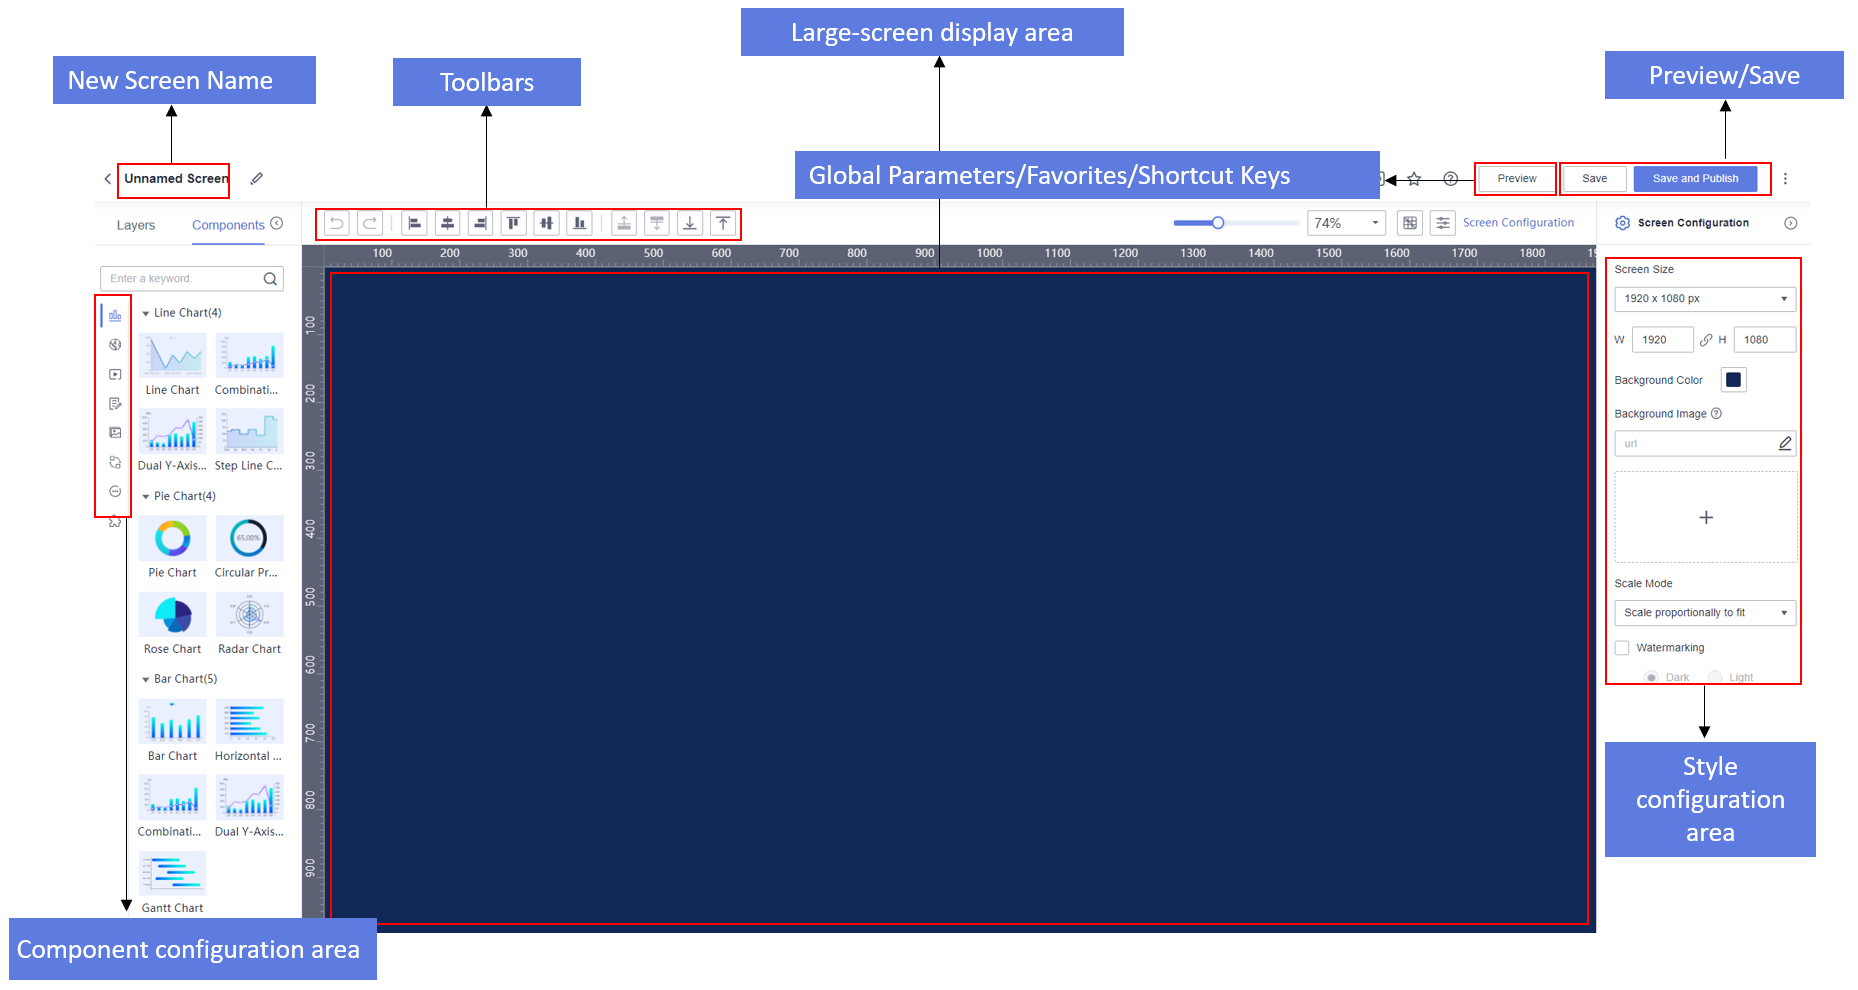
- The large screen configuration page is displayed.
Figure 2 Large screen configuration page
- Click
- Method 2: Create a Large Screen Within a Project
- Log in to the DataArts Insight management console.
- Click
 in the upper left corner to select a region.
 - In the lower left corner of the navigation pane, select an enterprise project from Enterprise Project.
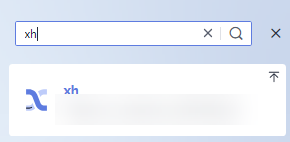
- Click
 in the upper right corner and enter a project name to search for your desired project. Then, click the retrieved project.
Figure 3 Searching for a project

- Choose Data Analytics > Large Screen. On the displayed page, click New Screen.
- The large screen configuration page is displayed.
- Method 3: Create a Large Screen on the Dataset Editing Page
- Log in to the DataArts Insight management console.
- Click
 in the upper left corner to select a region.
 - In the lower left corner of the navigation pane, select an enterprise project from Enterprise Project.
- Click
 in the upper right corner and enter a project name to search for your desired project. Then, click the retrieved project.
Figure 4 Searching for a project
- Choose Data Management > Datasets. On the displayed page, click a dataset to access its editing page.
- On the dataset editing page, click Create Screen in the upper right corner.
- Method 4: Create a Large Screen on the Datasets Page
- Log in to the DataArts Insight management console.
- Click
 in the upper right corner and enter a project name to search for your desired project. Then, click the retrieved project.
Figure 5 Searching for a project

- Choose Data Management > Datasets. On the displayed page, locate the row containing a desired dataset and click Create Large Screen in the Operation column.
Step 2: Add Components
After entering a large screen, you will need to add relevant components and configure their fields and styles. For details about more operations on components, see Large Screen Components.
Large screen components are the main building blocks of large screens. They offer a variety of chart types, maps, multimedia, text, materials, interactive features, other components, and custom components to meet diverse large screen building needs. This part describes how to create and configure large screen components.
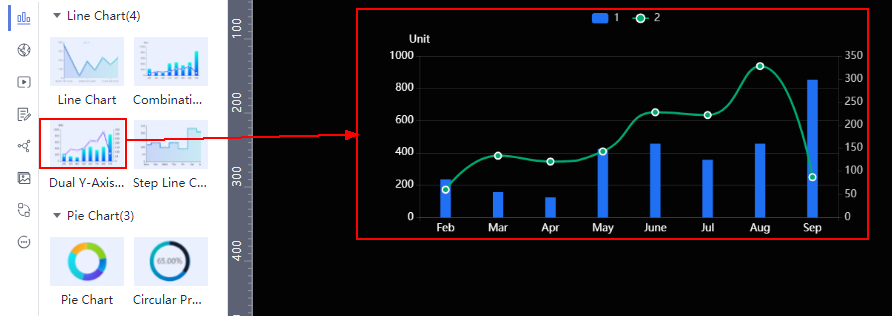
- In the left pane, drag required components to the canvas. You can also click to add components. In this example, we will use a dual Y-axis combination chart to demonstrate how to create and configure large screen components.
Figure 6 Example of a dual y-axis combination chart
- Select a dataset for the component, drag required fields from the Data area in the right pane to their corresponding positions, and configure the fields. In this example, a line chart is used.
Figure 7 Configuring fields

- Configure the chart style by setting the following parameters:
- Global Style: Adjust the font on the icons.
- Line Style: This configuration can only appear within the column chart type.
- Margin: The distance between the chart content and the chart border.
- X Axis: Configure the text, axis labels, coordinate axis, and grid lines on the X-axis of the chart.
- Y Axis: Configure the text, axis labels, axis units, coordinate axis, and grid lines on the Y-axis of the chart.
- Legend: Configure the text and layout of the legend.
- Tooltips: Configure the trigger type, color, font size, and font weight of the tooltip.
- Animation: Configure the entrance animation, animation effects, update animation time, and whether to start from the previous position.
- Value Settings: Support setting the context and unit. The context supports Simplified Chinese and English. Units support automatic, none, hundred, thousand, ten thousand, hundred million, and trillion.
- Series: Configure the color scheme of the series.
Step 3: Save or Save and Publish the Large Screen
Once the large screen fields and style are configured, click Update in the lower part. Then, click Save and Publish or Save in the upper right corner of the page.
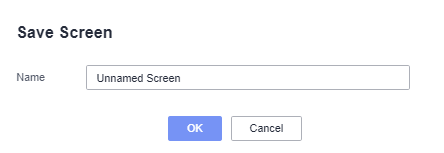
- Save: After a large screen is saved, you cannot view it on the page.
In the displayed Save Screen dialog box, enter a screen name.
Figure 8 Save and Publish
- Favorites: After favoriting a large screen, you can quickly find it on the My Favorites tab of the Workspace page.
- Save and Publish: Once a large screen is saved and published, you can view it on the page.
In the displayed Save and Publish Screen dialog box, enter a large screen name.
Figure 9 Save and Publish
