Installing Cloud CLI in Windows
- Download Cloud CLI for Windows.
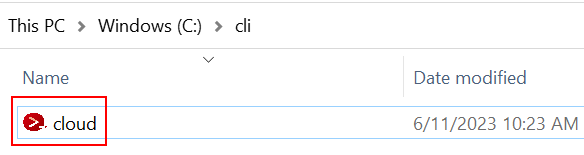
- Decompress the package to obtain the cloud.exe file, as shown in the following figure.
Figure 1 cloud.exe
- (Optional) Add the directory where Cloud CLI is located to the system environment variable Path so that you can run cloud commands in any directory of Command Prompt.
- If you use Windows 10 or Windows 8, search for and select View advanced system settings, and click Environment Variables.
If you use Windows 7, right-click the Computer icon on the desktop, and choose Properties from the shortcut menu. Click the Advanced system settings link, and click Environment Variables.
- On the Environment Variables page, select Path in the user variable list, and click Edit.
- On the Edit environment variable page, click New and enter the path of the cloud.exe file.
- Click OK on the three pages successively to save the change.
- (Optional) Open the Command Prompt, and run the following command to check whether the environment variable contains the directory where the cloud.exe file is located. If yes, the configuration is successful.set path
- If you use Windows 10 or Windows 8, search for and select View advanced system settings, and click Environment Variables.
- (Optional) If Step 3 is not performed, go to the directory where Cloud CLI is located, open the Command Prompt of Windows, and run the following command to check whether the CLI is installed successfully:cloud version
If version information similar to the following is displayed, the installation is successful:
cloud versionCurrent Cloud CLI version: 3.2.8
Parent topic: Step 2: Install the CLI