Импорт сертификата в Windows Server
- Click Start and choose Run. In the displayed Run dialog box, enter MMC and press Enter.
- В отображаемой консоли выберите File > Add/Remove Snap-in.
- In the left Available snap-ins pane of the displayed Add or Remove Snap-ins dialog box, select Certificates and click Add.
- In the displayed Certificates snap-in dialog box, select Computer account and click Next.
- In the displayed Select Computer dialog box, click Finish.
- In the Add or Remove Snap-ins dialog box, click OK.
- On the console, double-click Certificates.
- Right-click Trusted Root Certification Authorities and choose All Tasks > Import.
- In the displayed Certificate Import Wizard dialog box, click Next.
- Click Browse to change the file type to All Files (*.*).
- Locate the downloaded root certificate ca.pem file and click Open. Then, click Next.Notice
You must change the file type to All Files (*.*) because .pem is not a standard certificate extension name.
- Click Next.
- нажмите Finish.
- нажмите OK чтобы завершить импорт корневого сертификата.
Импорт сертификата на Linux‑сервер
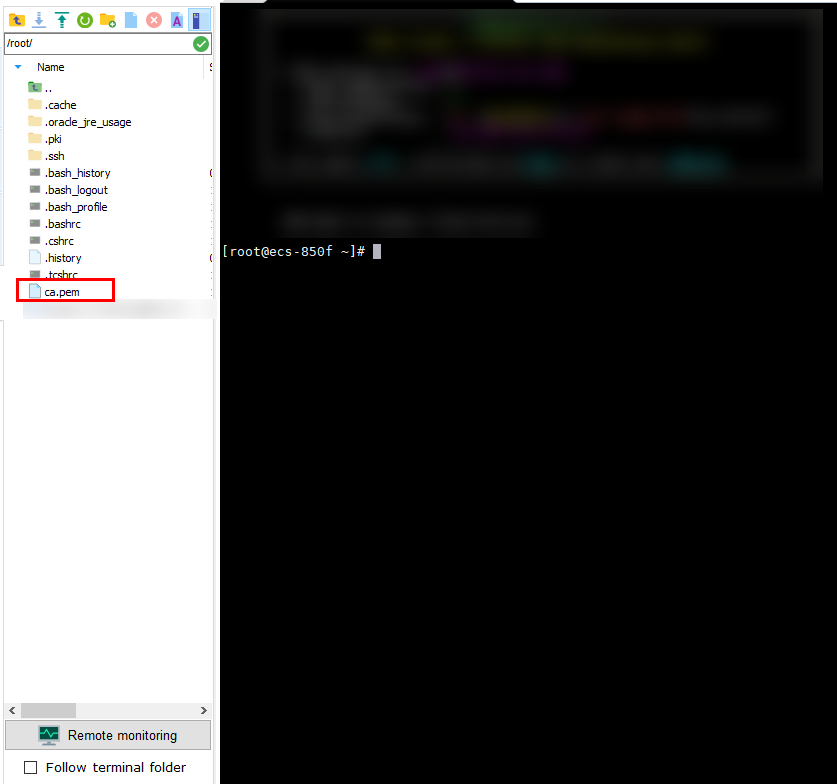
Вы можете использовать инструмент подключения (например WinSCP или PuTTY), чтобы загрузить сертификат в любой каталог на Linux‑сервере.
Пример:
Рисунок 1 Импорт сертификата
Родительская тема: Network Security