Scenarios
EVS disk backups are created using the CBR service. For details, see section "Creating a Cloud Disk Backup" in the Cloud Backup and Recovery User Guide.
This section describes how to quickly create a disk backup vault and perform backup.
Constraints
- Backups can be created only when the disks are in the Available or In-use state.
- Backup data can only be restored to original disks.
- Only users with the CBR FullAccess permissions can use the cloud disk backup function. If the user does not have the permissions, contact the account administrator to grant the permissions first.
Creating a Disk Backup Vault and Applying a Backup Policy
- Sign in to the console.
- Click
 in the upper left corner of the page and choose Storage > Cloud Backup and Recovery > Cloud Disk Backups.
- Click
- In the upper right corner, click Create Disk Backup Vault.
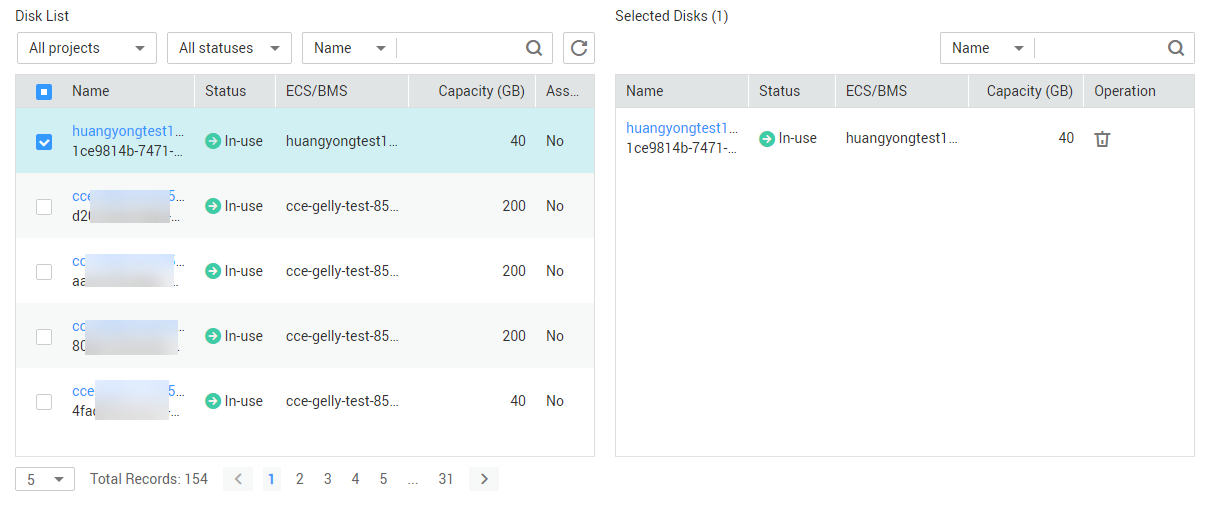
- (Optional) In the disk list, select the disks you want to back up. After disks are selected, they are added to the list of selected disks.
Figure 1 Selecting disks
 Note
Note- Only Available and In-use disks can be selected.
- You can also associate disks with the vault you are creating later if you skip this step.
- Specify a vault capacity ranging from the total sizes of disks to 10,485,760 GiB.
- Configure auto backup.
- If you select Configure, a backup policy will be applied to this vault and all disks associated with this vault will be automatically backed up based on the policy. You can select an existing backup policy or create a new one.
- If you select Skip, disks associated with this vault are not automatically backed up.
- If you have subscribed to Enterprise Project, add the vault to an existing enterprise project.
An enterprise project makes it easy to manage projects and groups of cloud resources and users. Use the default enterprise project or create one.
- Specify a name for the vault.
A name must contain 1 to 64 characters including digits, letters, underscores (_), and hyphens (-), for example, vault-612c.
NoteYou can use the default name, which is in the format of vault_xxxx.
- Click Next.
- Complete the creation as prompted.
- Go back to the cloud disk backup page and view the created vault in the vault list.
You can associate disks to the new vault or create backups for the disks. For details, see section "Vault Management" in the Cloud Backup and Recovery User Guide.